Andino License Server is available for 64 bits operative systems, like Windows or Linux. License server is installed as a service that will lanch automatically at system startup and communicates trough a port with Andino 3D (by default, 45684 port is used).
Installation in Windows
- Run
AndinoLicenseServer_Windows.exeand choose installer language. - You can choose the installation folder (by default, is installed in
C:\Program Files\LaTeAndes\Andino License Server) and then, continue with installation. - At the end of installation, you will be asked to allow code>AndinoLicenseServer.exe through Windows firewall. Choose the
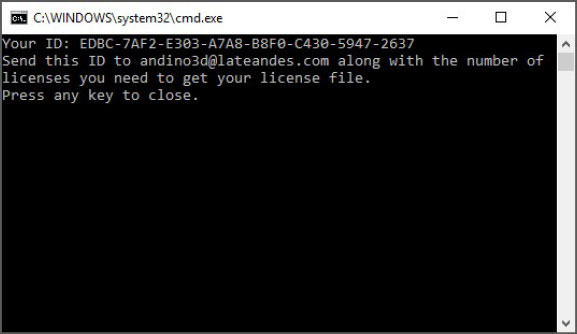
Allowoption. Is important that you allow access to this application so Andino3D can communicates with license server. If you have another firewall, please configure to allowC:\Program Files\LaTe Andes\Andino License Server\AndinoLicenseServer.exe. Also, at when installation finish a command window will show your server ID. You can always check your ID runningAndinoLicenseServer.exe –fin a command prompt. - The port used to communicate can be changed from command prompt using the command
AndinoLicenseServer.exe -p YOUR_PORT_NUMBER. After change the port, you need to restart the service in order to apply changes. - 5. Now, you can fill up the request form, and be sure to choose
networklicense type. Enter the license quantity you need and the server ID. - Once you get the license file (a .p3 file named with your ID), download it and rename it to
License.p3and move this file to Andino License Server installation folder. The service should detect the license automatically, but if you can validate the license, try restarting the service.
Installation in Linux
You have three alternatives to install Andino License Server in Linux:
- AndinoLicenseServer.deb: for Debian based distros.
- AndinoLicenseServer-1.0-1.fc29.x86_64.rpm: : for Red Hat Enterprise Linux (RHEL) based distros.
- AndinoLicenseServer.run: for any distro.
In any case, server needs to have installed systemd (version 229 or greater). But in most cases, is already installed by default.
It’s better to use the native package for your distro, since native distro will check for dependencies and control possible conflits.
- Install Andino License Server with the appropriate command:
- Debian:
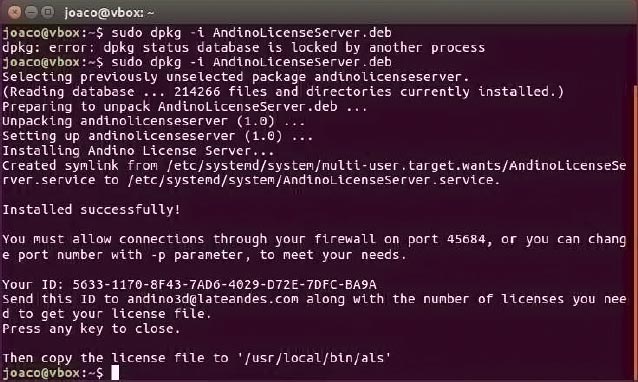
sudo dpkg -i AndinoLicenseServer.deb - RHEL:
sudo yum install AndinoLicenseServer-1.0-1.fc29.x86_64.rpm - Generic:
sudo ./AndinoLicenseServer.run
- Debian:
- In any case, server is installed in
/usr/local/bin/alsdirectory. - After installation is finish, you will have to allow the application through your firewall, if any, using the port 45684 (or whatever you choose). Also, installer will show your server ID. You can always check your ID running code>./AndinoLicenseServer –f.
- The port used to communicate can be changed from command prompt using the command
./AndinoLicenseServer -p YOUR_PORT_NUMBER. After change the port, you need to restart the service in order to apply changes. - Now, you can fill up the request form, and be sure to choose
networklicense type. Enter the license quantity you need and the server ID. - Once you get the license file (a .p3 file named with your ID), download it and rename it to
License.p3and move this file to Andino License Server installation folder. The service should detect the license automatically, but if you can validate the license, try restarting the service.